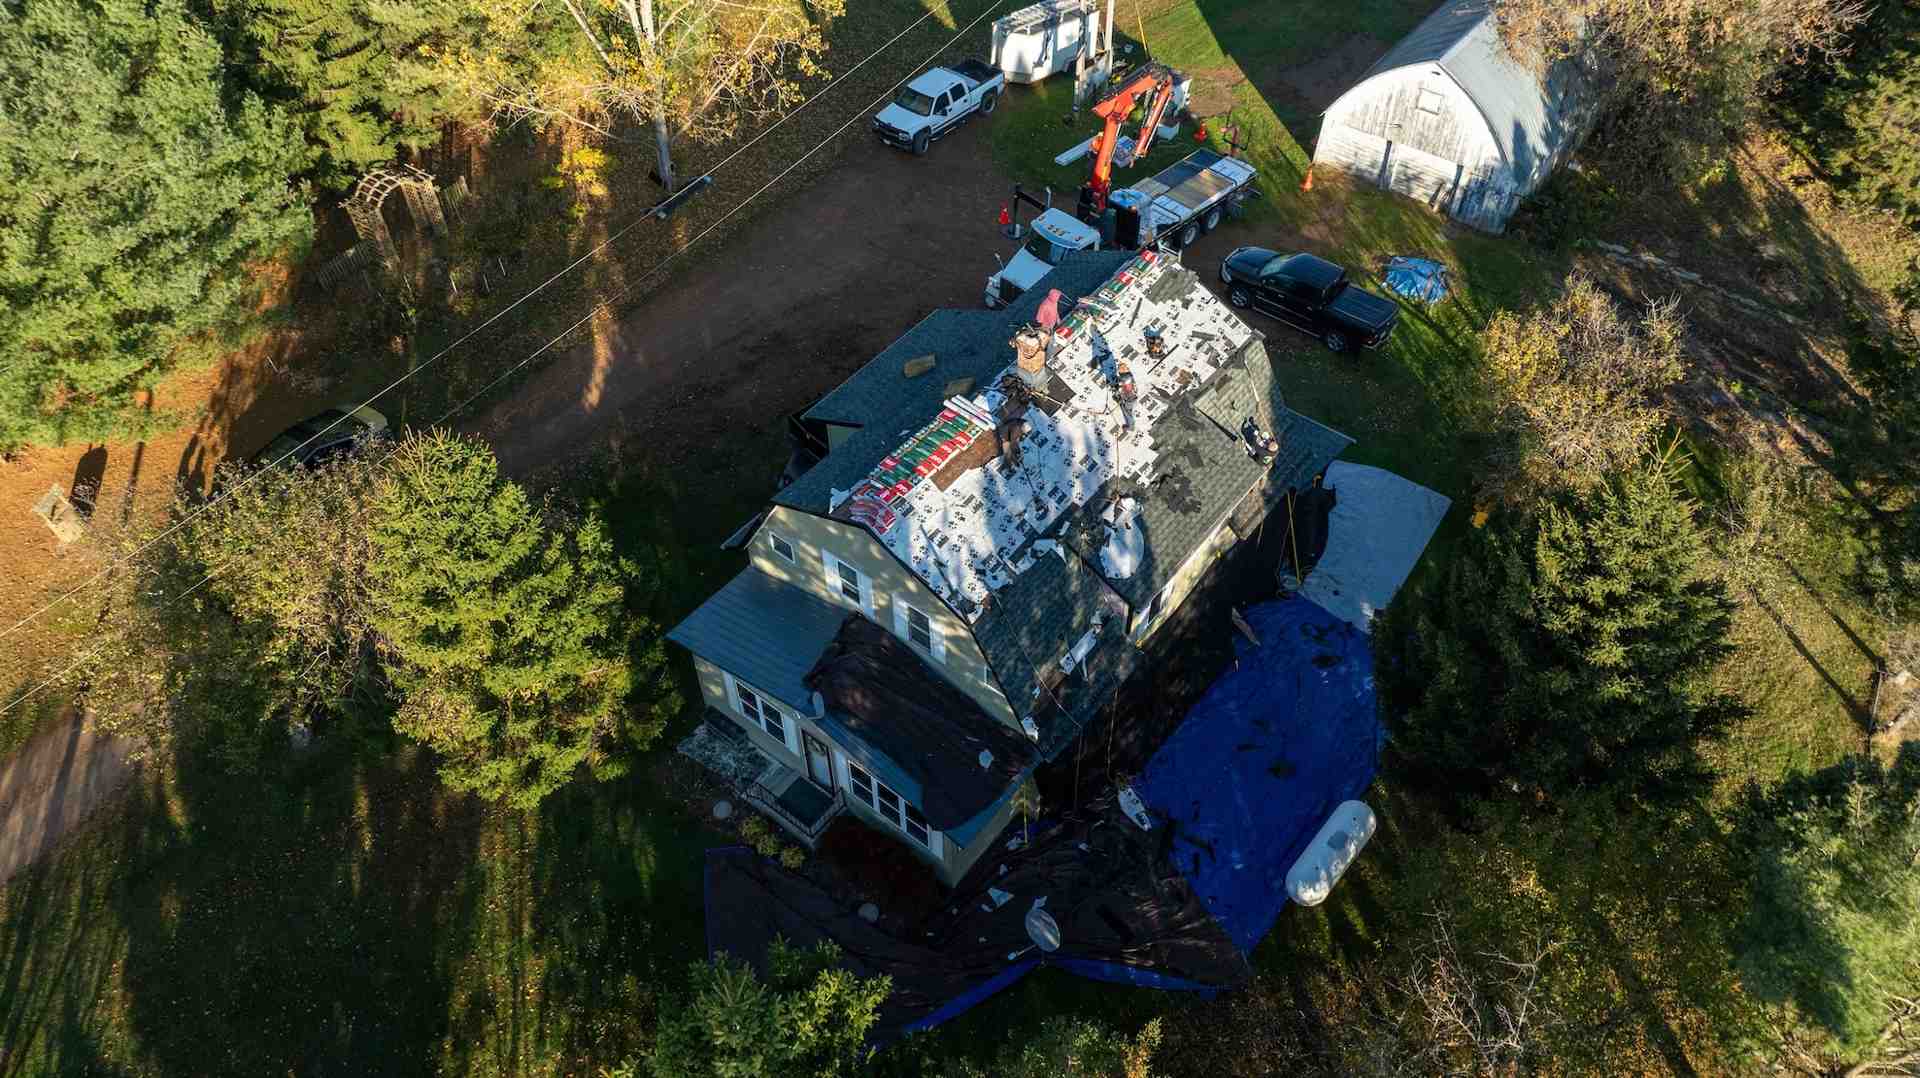
Where Ice and Water Shield Helps Most
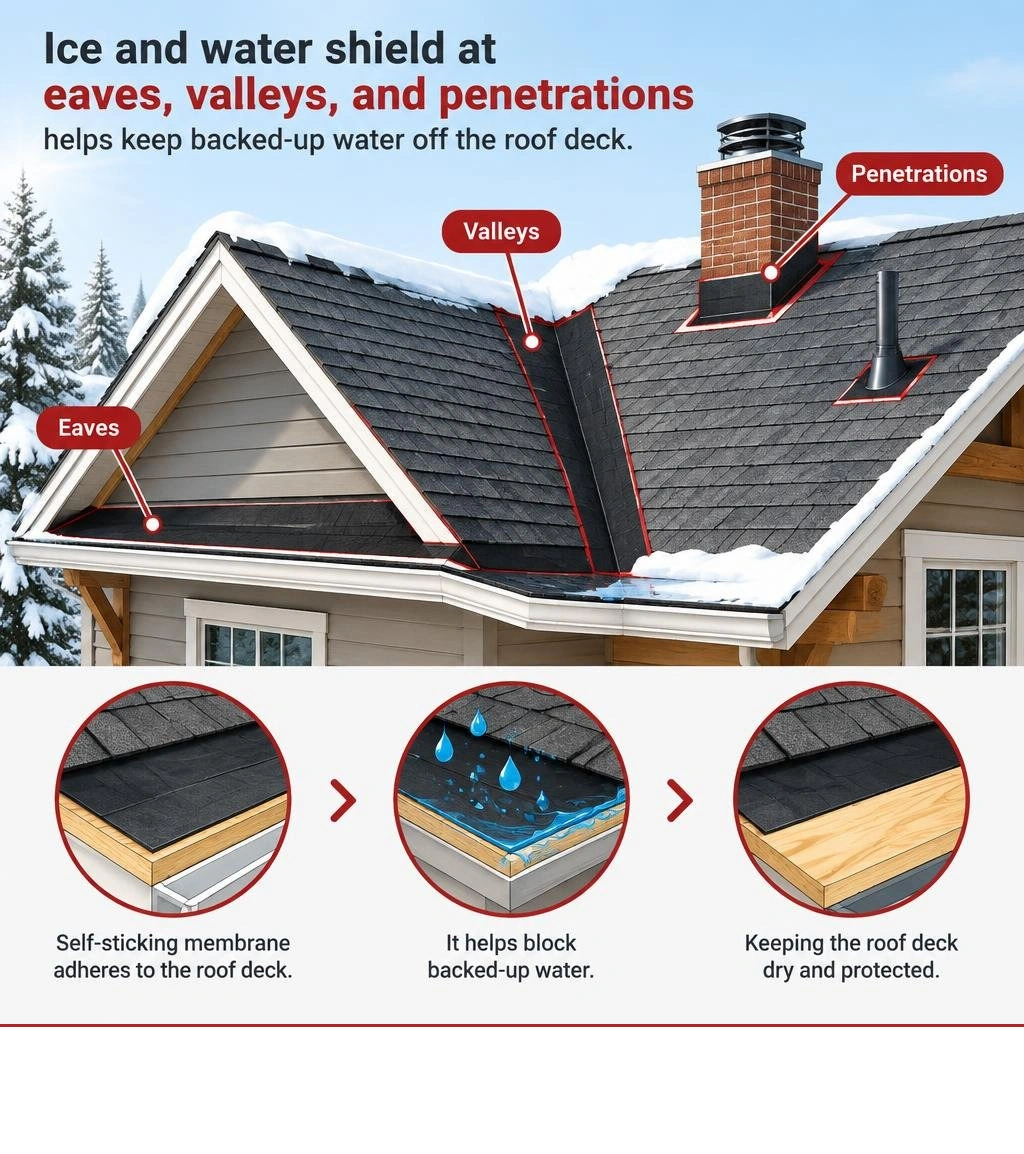
Ice and water shield is a self-sticking, waterproof membrane installed under shingles at eaves, in valleys, and around chimneys and pipes. If water backs up behind an ice dam, the membrane can help keep it from reaching the roof deck and leaking inside. Unlike standard underlayment, it bonds to the deck and is designed to seal around shingle nails.
For homeowners and cabin owners in Vilas and Oneida counties, the key question is where your roof needs that extra protection. Ice and water shield helps limit leaks, but it does not stop ice dams from forming. Attic heat loss and poor ventilation need attention too.
I'm Tyler Blair, owner of Eagle River Roofing, based in Eagle River, WI. Our team's local experience with Northwoods roof replacements guides where we install ice and water shield, how we check ventilation, and what we explain in your clear written quote.
How Ice and Water Shield Protects Your Roof

Winter in northern Wisconsin brings heavy snow, freezing winds, and repeated freeze-thaw cycles. When snow piles up on a roof over heated living space, warmth escaping from the attic melts the bottom layer of snow. That meltwater trickles down the roof slope until it hits the cold overhang at the eaves. Out over the cold soffit, the water refreezes into a thick ridge of ice called an ice dam.
Once an ice dam blocks the roof edge, melting water pools behind it. Standard shingles are designed to shed water flowing downward, not standing water that backs up up-slope.
This is where ice and water shield plays its role. Made from a thick layer of rubberized asphalt backed by a protective release film, this peel-and-stick material adheres directly to clean wood decking. The U.S. Department of Energy's Building Science Education site describes a water-managed roof as one with peel-and-stick membrane in all valleys and wherever the roof meets a wall, plus ice and water shield along the roof edges.

Ice and Water Shield vs Standard Underlayment
It is common to confuse standard roof underlayment with a dedicated leak barrier. While both sit beneath the final roofing material, they perform very different jobs:
- Felt Paper (Tar Paper): Traditional paper or fiberglass mat soaked in asphalt. It is mechanically fastened with staples or nails and provides basic water resistance, but it can tear easily, wrinkle when wet, and leak if water backs up over nail holes.
- Synthetic Underlayment: Tough plastic fabric laid across the main roof deck. It is tear-resistant, light, and sheds water well, but it does not stick to the wood deck or self-seal around fasteners.
- Ice and Water Shield: A heavy, rubberized asphalt sheet with a sticky back. It sticks directly to the roof boards to form a watertight seal that handles pooling water.
| Feature | Asphalt-Saturated Felt | Synthetic Underlayment | Ice and Water Shield |
|---|---|---|---|
| Material Base | Paper or fiberglass with asphalt | Polypropylene or polyethylene plastic | Rubberized asphalt sheet |
| Attachment Method | Staples or plastic cap nails | Plastic cap nails | Self-adhesive peel-and-stick bond |
| Water Barrier Type | Water-resistant | Water-resistant | Waterproof membrane |
| Self-Seals Nails? | No | No | Yes, seals tightly around shingle fasteners |
| Primary Placement | Field of the roof deck | Field of the roof deck | Eaves, valleys, penetrations, low slopes |
Self-Sealing Protection Around Fasteners
Every asphalt shingle requires several roofing nails driven through it into the roof decking. On a standard underlayment, each nail creates a tiny puncture hole. If water gets under the shingles, it can follow the nail shank down into the attic or rafters.
Ice and water shield features a soft, sticky rubber layer that closes tightly around the nail shank as it goes through the membrane. It grips the fastener, creating a gasket seal. Even when many nails pierce the barrier along an eave, water cannot easily find a path through the nail holes.
Critical Areas Where Roof Leak Barriers Belong
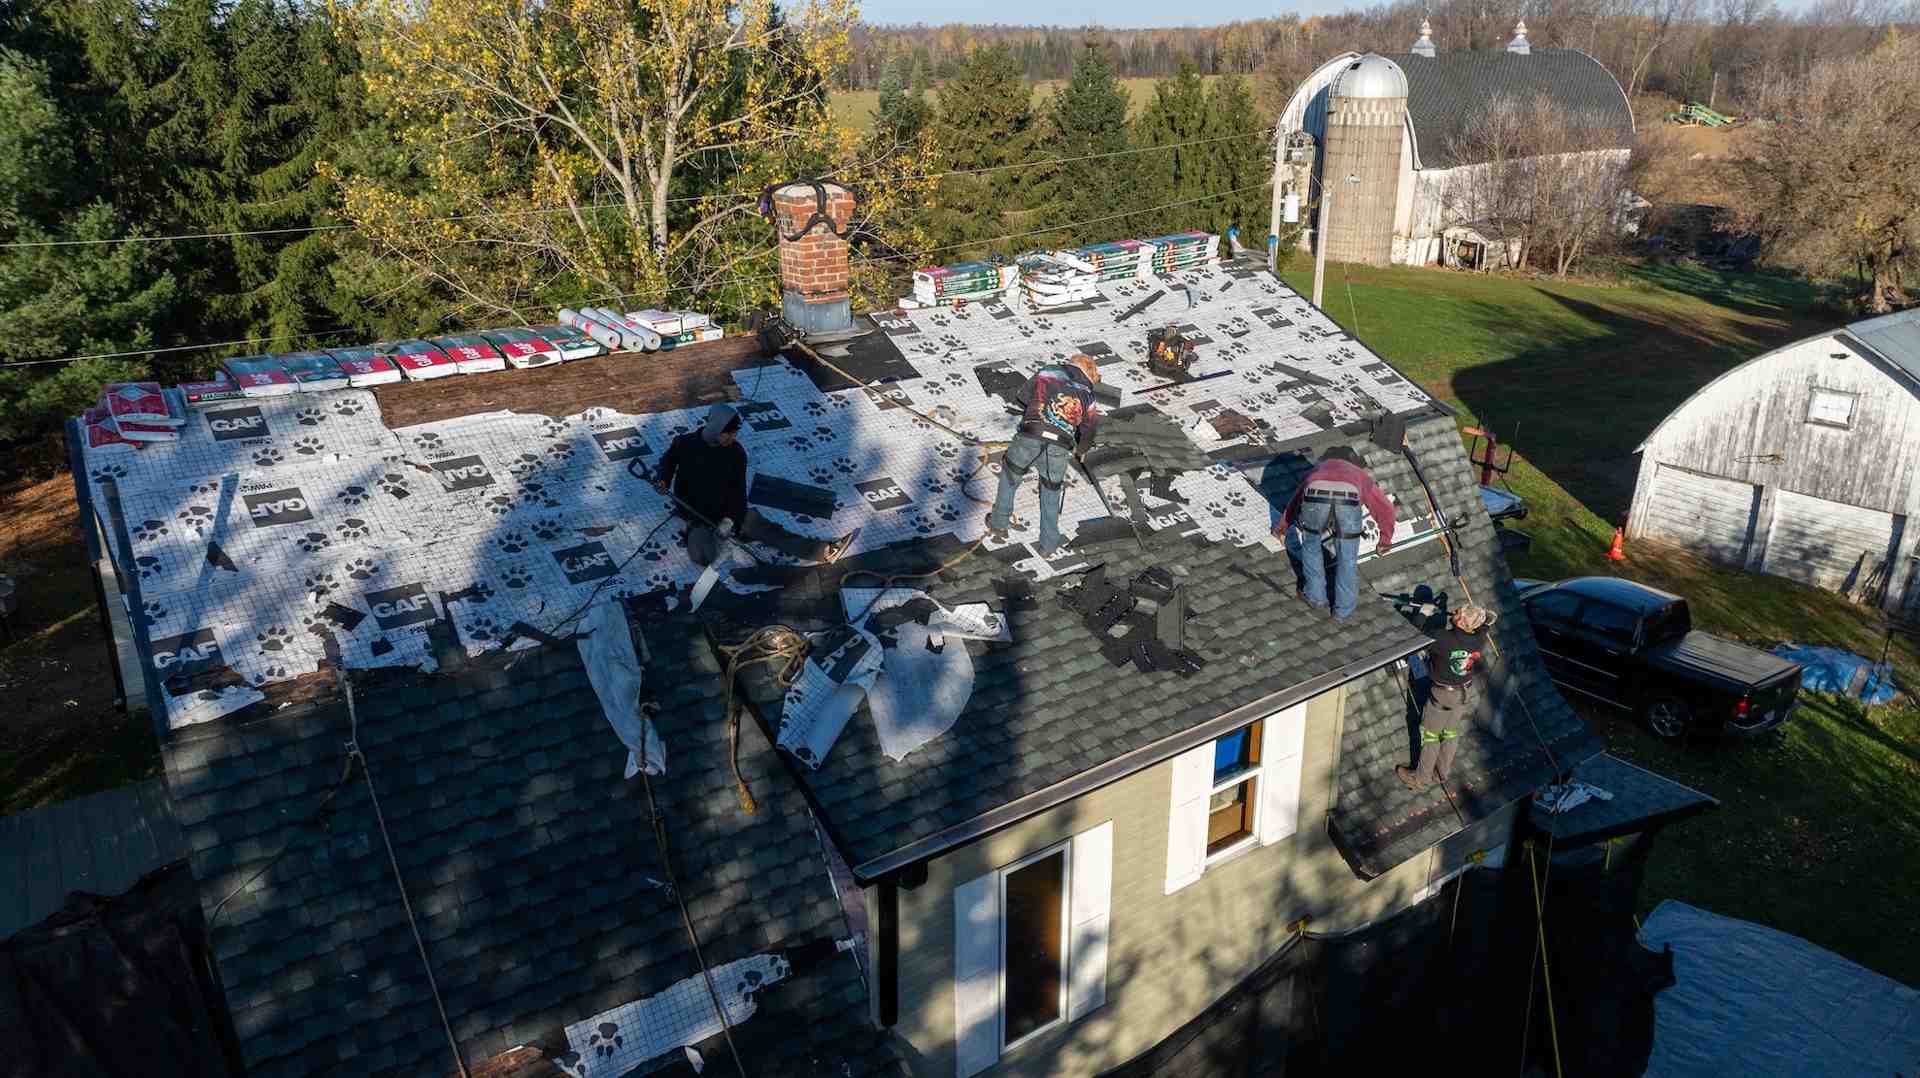
Roof leaks rarely start on flat, open stretches of roofing. Instead, water finds weak points where planes meet, where angles change, or where openings cut through the decking. When checking for trouble spots, knowing what to check when tracing a roof leak often leads right back to these vulnerable transitions.
Eaves, Valleys, and Roof Penetrations
We install leak barriers in specific high-risk zones across your roof:
- Roof Eaves: The bottom edges of the roof where ice dams typically form and force water backwards under the shingles.
- Roof Valleys: The internal V-shaped channels where two roof slopes meet. Valleys channel heavy volumes of rainwater and melting snow, making them prone to washouts and debris buildup.
- Chimneys and Skylights: Areas where masonry or frame structures cut through the roof deck. Ice and water shield runs up the vertical walls before metal flashing is installed over it, creating a secondary defense.
- Plumbing Vent Stacks and Exhaust Pipes: Round roof pipes that expand and contract with temperature shifts.
- Dormer Sidewalls: Transitions where vertical siding meets a sloped roof deck, vulnerable to wind-driven rain and snow drifts.
Wisconsin Building Code Rules for Eaves
Local building codes establish minimum safety standards for winter roof assemblies. According to the Wisconsin Uniform Dwelling Code SPS 321.28(4)(a), shingled roofs over a heated part of a home or an attached garage with a slope of 4:12 or less must have ice dam protection, either sheet metal or a product labeled as meeting ASTM D 1970.
Steeper roofs in snow country often get ice and water shield along the eaves too. How far up the roof it goes depends on your overhang and pitch, so ask your roofer to show you on the estimate where it will start and stop.
Membrane Types and Material Options
Not every ice and water shield is the same. Different roof styles, slopes, and materials need specific membrane types to hold up against Northwoods weather.
Choosing the Right Ice and Water Shield for Your Roof
Choosing the right barrier depends on your roof shape and roofing material. When planning suitable roof designs for snow and ice in Wisconsin, underlayments should match the needs of asphalt shingles or metal panels.
GAF is our primary shingle brand, so we typically pair GAF shingles with a GAF leak barrier. Matching components can matter for some GAF warranty options, and we'll confirm what your project qualifies for during your estimate.
Smooth, Granular, and High Temperature Surfaces
- Granular Surface Membranes: Coated with fine mineral granules like the surface of a shingle. They give roofers better traction on steep slopes and work well in valleys and eaves under asphalt shingles.
- Smooth Surface Membranes: Made with a plastic film surface. They are thin, flexible, and bond tightly in valleys, low-slope sections, and around tight metal flashing.
- High-Temperature Membranes: Built to handle high heat without softening or losing stickiness. While standard membranes handle normal shingle heat, high-temperature barriers are used under standing seam metal roofs, which absorb and hold summer heat.
Ice Dams and Attic Ventilation in Cold Climates
A common misunderstanding is that adding ice and water shield will stop ice dams from forming. That is not how it works. A leak barrier is a waterproof catch-basin designed to manage water after an ice dam forms; it does not stop the dam itself.
Why Leak Barriers Alone Cannot Stop Ice Dams
Ice dams form because of uneven roof temperatures. When heat escapes from your living space into the attic, it warms the upper roof deck. As snow melts on the warm roof and runs down to the cold, unheated eaves, it freezes into ice.
Understanding why recurring ice dams form means looking below the roof deck. To reduce ice dams, your home needs a balanced setup:
- Air Sealing: Closing attic gaps around lights, chimneys, and plumbing pipes to keep warm indoor air from leaking into the attic.
- Attic Insulation: Keeping enough insulation across the attic floor to hold heat inside your rooms below.
- Balanced Ventilation: Making sure soffit vents bring in cool outdoor air while ridge vents let warm air out, keeping the roof deck temperature even.
What to Ask Your Roofer
When hiring a contractor, ask clear questions so you know where your roof gets protection. You can ask: "Where will you install ice and water shield on my roof, and will you protect all vulnerable areas like the eaves, valleys, chimneys, and pipes?"
Knowing what should be included in a roofing estimate helps make sure the exact placement of leak barriers and ventilation checks are written clearly in your quote before work starts.
Proper Installation During a Full Roof Replacement
Ice and water shield cannot be slipped under an existing shingle roof. It must be placed directly on a clean, bare wood deck during a full tear-off.
During a full replacement, the old shingles and underlayment come off down to the wood deck. Damaged boards get flagged and replaced as needed. Then the membrane goes onto a clean, dry deck, with seams overlapped the way the manufacturer calls for.
Frequently Asked Questions About Roof Leak Barriers
Can you install leak barrier over existing shingles?
No. Ice and water shield must stick directly to bare roof decking to create a waterproof seal. Placing a peel-and-stick membrane over existing shingles may not adhere properly, creates an uneven surface, and isn't how manufacturers intend it to be installed. A complete tear-off is required.
Should you cover the entire roof deck with a peel and stick barrier?
Generally, no. Covering an entire roof deck with a peel-and-stick barrier seals the roof sheathing so air and moisture cannot pass through. Unless the roof space is specially engineered to be unvented with matching insulation, a full-deck barrier can trap household moisture in the attic, which can lead to moisture damage. We recommend placing leak barriers in vulnerable zones like eaves, valleys, and penetrations, while using breathable synthetic underlayment across the main field of the roof.
Does ice and water shield replace metal flashing?
No. Ice and water shield works alongside metal flashing rather than replacing it. Metal flashing directs water away from joints around chimneys, walls, and valleys, while the waterproof membrane underneath acts as a backup seal if water gets past the metal.
Protecting Your Northwoods Roof
A durable roof requires quality materials on top and proper protection underneath. In Vilas and Oneida counties, including Eagle River, Three Lakes, Rhinelander, St. Germain, and Minocqua, installing leak barriers in critical valleys and eaves helps protect your home from winter meltwater and driving summer rains.
Eagle River Roofing is locally owned and based in Eagle River, WI. As a certified GAF Master Elite contractor, we provide tidy job sites, skilled craftsmanship, and clear written quotes so you know exactly what is going on your roof.
If you have questions about your roof or want to check your winter protection, we invite you to request a free, no-pressure estimate. Call our friendly team at (715) 892-8328, Mon to Fri 8 to 5, or use our instant estimate tool to get started.
Sources
- Building Science Education: Water-Managed Roof Assembly Guidelines
- Wisconsin State Legislature: Wisconsin Administrative Code SPS 321.28 - Roof Coverings
This article is for general informational purposes only and may not reflect the most current products, pricing, codes, availability, weather-related recommendations, or roofing requirements for your specific property. Every home and roof is different, especially in the Northwoods. Please contact Eagle River Roofing directly for the latest information and guidance for your project.

